
UPDATE:
You can now generate keys and permanently activate all of the options and bandwidth without any extra hardware. Here is the c code which will generate the keys (it is the most up to code from the thread with a couple of modifications). All you have to do under Linux is place the above code (and fill out the private key value from the forum or use the pastebin link's code) into rigolkey.c. Alternatively there is also a Windows exe floating around on the forum there too which you can use.
Make sure you have g++ installed and perform the following:
mkdir miracl
cd miracl/
wget https://github.com/CertiVox/MIRACL/archive/master.zip
unzip -j -aa -L master.zip
bash linux (or bash linux64 if running 64bit OS)
cd ..
gcc rigolkey.c -I ./miracl/ ./miracl/miracl.a -o rigolkey
Now run:
./rigolkey [your device serial] [option parameter]
Use "DSA9" for the option parameter to convert to a DS2202 with all options enabled. There are more options available here. The device serial number is located on your about screen, or on the back of the scope. If you have somehow managed to reset your serial number to a default value on the about scree (DS2A0000000001), then use that rather than the sticker at the back.
It is recommended to have at least firmware version 00.01.00.00.03 before entering the licence. Now apply the licence key that the keygen spits out. This is located under Utility>Options>Setup>Editor=ON. Enter the code using the intensity dial and button then hit Apply. It should then say "Option Installed!" if you entered this correctly. You now have all options enabled including 200MHz bandwidth.


This should continue to work with future updates. It is currently working with the latest 00.01.01.00.02.
This also works to unlock the extra features with the DS4000 series by using DSH9 as the option value for the key generator.
END UPDATE
Based on the great work over at the EEVBlog forums, I have successfully unlocked my DS2072 to have 200MHz bandwidth and all options enabled (increased memory depth MEM-DS2, serial data decode SD-DS2, advanced triggering AT-DS2).
I chose Arch Linux for the Pi for this as it boots very quickly. For this I used archlinux-hf-2013-06-06.zip.
You will need to update the scope's firmware to 00.01.00.00.03 (edit: apparently the latest 01.01.00.02 also works with this too) by placing the firmware image in the root directory of a memory stick formatted with FAT32 (be careful with this easier method though, you can lock up the scope and wipe your factory calibration/trial options, more info/alternative here). Then place the USB stick into the scope (it will autodetect it). If you already have this version, then leave it be.

Firmware 00.01.00.00.03
The following setup is based on "Harvs" post here. Which is based on the work by "cybernet" (and others of course) in the thread.
Boot the Raspi and run the following:
pacman -Syy
pacman -S python
pacman -S python-pip
pip install pyusb
With this version of python 3, some small changes to the python code posted need to be made.
Change:
command = bytearray(SCPI_command)
to:
command = bytearray(SCPI_command, 'latin1')
Line 35 of applyCode.py from:
read_data = ":SYST:SET " + response.tostring
to:
read_data = ":SYST:SET " + str(response)
Line 38 of applyCode.py from:
read_data += response.tostring
to:
read_data += str(response)
Here are the fully modified versions:
http://pastebin.com/ZzCp9JU4
http://pastebin.com/Q7cdQ1f2
Place these in /root/
ArchLinux uses systemd rather than initscripts. So we have to enable rc.local for this next part (or create a systemd script for it, it's up to you).
Create /etc/systemd/system/rc-local.service with the following:
[Unit]Create /etc/rc.local with the following
Description=/etc/rc.local Compatibility
[Service]
Type=forking
ExecStart=/etc/rc.local
TimeoutSec=0
#StandardInput=tty
RemainAfterExit=no
[Install]
WantedBy=multi-user.target
#!/bin/bash pythonNow run "chmod 555 /etc/rc.local"
/root/applyCode.py
You could also put "shutdown -h now" at the end of /etc/rc.local and if you needed to edit the python script/change anything on the system you could just boot into single user mode by putting the following in cmdline.txt "init=/bin/sh" on the first (FAT32) partition of the SD card (alternatively don't plug the Rigol in and boot the Pi without making the change to cmdline.txt) . This would serve to save some power.
Only do this though when everything is running correctly.
Now run "systemctl enable rc-local.service" to enable the rc.local "service". Setup is now done. Halt the Pi and disconnect.
Connect the rear USB port on the scope to the Raspberry Pi. Now plug the Pi's microusb power connector into the front port on the scope.
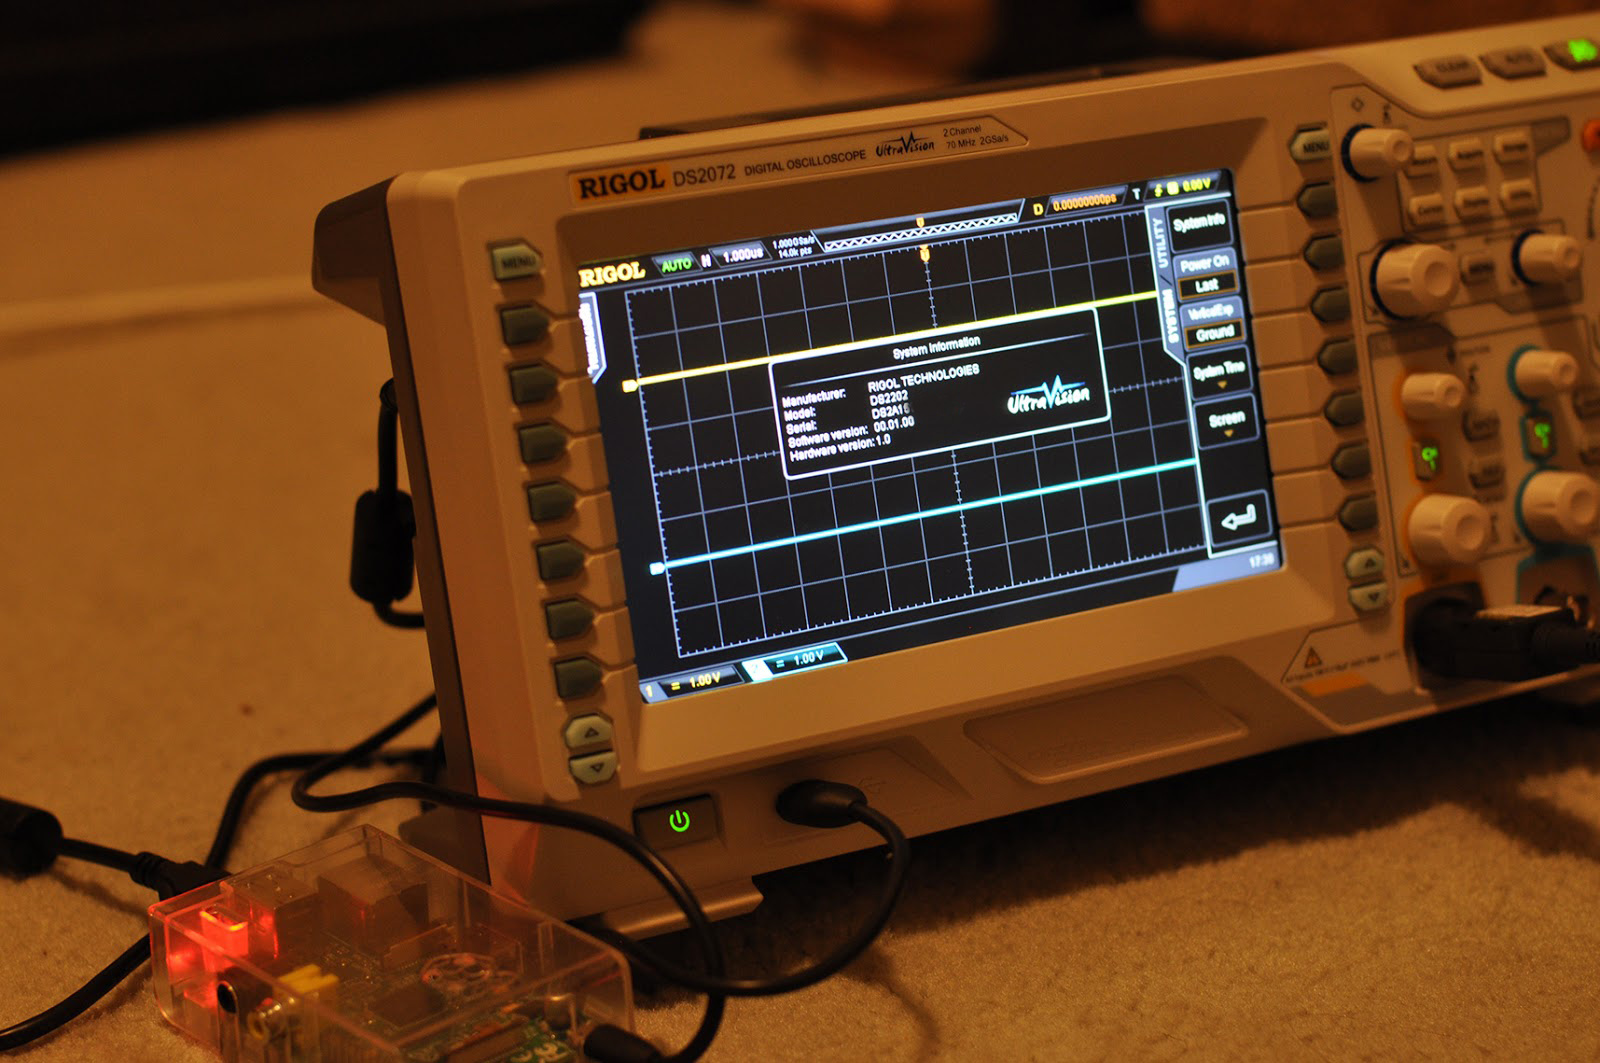
Turn on the scope:
You should, after a few seconds, get the following if you browse the installed options:

If you look at the about screen you will also notice that it now has the DS2202 Model designation. Enjoy your fully optioned DS2202!
You can unplug the Pi completely if you need to use the USB ports at all at this stage. Although you will need to plug it back in when you restart.
Note, this also works for the other DS2000 series scopes (DS2102 and DS2202; except it doesn't upgrade bandwidth on the DS2202) and the DS4000 series as well by modifying the python script with one of the following option codes:
LLLLLLL-RLGLLDS-DSB9LLL-LLLLLLL - enable 6 options
LLLLLLL-RLGLLDS-DSD9LLL-LLLLLLL - enable 7 options
LLLLLLL-RLGLLDS-DSH9LLL-LLLLLLL - enable 8 options


Hi there,
ReplyDeleteI wonder if you came across the problem I have, whilst upgrading the firmware on my DS2072, the scope will not boot now, it stays on the main Rigol screen and freezes. A lot of push button lights are on.
Thanks for your help,
Ronald
Unfortunately this is due to a bad update. Did you use the firmware I linked to or otherwise (I have since changed the link above to link to the post that links to the rapidshare site, but it's the same file).
DeleteSince you get the boot screen you can try updating again by doing the following:
"You do this by using two hands when booting up - one thumb on the 'Power On' switch - one thumb on the 'Help' button. When you press 'Power On', all of the scope LEDs will light for ONE SECOND - during that brief period, you must PRESS AND LET GO of the 'Help' button. It can be a little tricky, but if it works, bootup will stop before the Rigol logo with the 'SINGLE' button lit (if it doesn't, turn off power and try again until you get it). Then insert the USB stick with the file on it. The CH1 LED will flash as the DSO loads the file.
Once updating is finished, several of the LEDs will light up - and all flashing, etc. will stop. That's it! Remove the USB stick and reboot, and check your firmware version using the method listed above."
http://www.eevblog.com/forum/testgear/first-impressions-and-review-of-the-rigol-ds2072-ds2000-series-dso/msg158684/#msg158684
Hi, I've just ordered a Rigol DS2072 and a raspery card to do the mods but I have no knowledge at all in Linux.
ReplyDeleteI've downloaded archlinux-hf-2013-06-06 and the 2 fully modified scripts but I don't understand the chapter "Archlinux use sytemd rather...create...
what is below create are command line or some text file you have to input ?
Sorry fir this silly question but I never touch Linux
Thanks for help
JC
There was a small mistake in the formatting of the /etc/rc.local script above (I have updated this).
DeleteArchlinux uses a service subsystem called systemd for starting everything, rather than using a legacy system where you can write scripts that execute code located in files such as rc.local (this file is basically a default startup file that loads when the system starts that is kind of like the Windows startup folder but with bash commands rather than shortcuts).
The method specified is just a workaround to re-enable this functionality as it was removed from Archlinux. You really only need to create the two files above:
/etc/systemd/system/rc-local.service
/etc/rc.local
Then run:
chmod 555 /etc/rc.local
systemctl enable rc-local.service
and any commands in /etc/rc.local will execute on startup.
There is some info here about it:
https://bbs.archlinux.org/viewtopic.php?pid=1152201
The reason for using Archlinux over Raspian is due to the VERY fast boot times (it takes about 8-10 seconds to boot).
I hope this helps.
Just to add, to create/edit files, you will need to use an editor such as vi. Alternatively, you can install an editor called nano which is a little easier to use for beginners. You might need to install it though. To do this run:
Deletepacman -S nano
You can then run it from the command line with:
nano
Hi blecky,
ReplyDeletesorry for the delay i've been offline until now.
Thanks for all explanations, I'll re read all this carefully and do it asap
Best
JC
Check out the update. There is an easier method to do this now.
DeleteHi blecky,
ReplyDeleteOut of interest did you confirm whether the bandwidth is genuinely increased to 200MHz as a result of the hack?
Cheers,
Chris
Yes. This has also been confirmed by many on the forums as well.
DeleteThis comment has been removed by a blog administrator.
ReplyDeleteHi, i have a Problem running following command line:
ReplyDeletepip install pyusb
Get the error: Could not find a Version that satisfies the requirements pyusb (from Versions: .....)
Any idea? Thx for help!
Regards Tobias
Hi,
ReplyDeleteJust wanted to say thanks. I followed the procedure with a macbook pro, mac osx Maverik. 'wget' doesn't work, but you can download the zip file using any browser. Then you move the zip file into a folder and:
- unzip -j -aa -L MIRACL-master.zip
(use the command line, those options are important)
- I renamed the methods in file mrmuldv.s64, as mentioned in mac.txt
- bash linux64
- cd ..
- gcc rigolkey.c -I ./miracl/ ./miracl/miracl.a -o rigolkey -mdynamic-no-pic
(there were 49 warnings)
- ./rigolkey YOURSERIALHERE DSA9
Just to be clear, does this allow unlocking the DS4012 to function as a DS4054? Thanks.
ReplyDeleteCan u please tell will this work with Rigol MSO1074Z-S?
ReplyDeleteThanks for the post, saves me time to go through 250+ pages on EVblog.
ReplyDeleteWanted to ask if this is going to work on the ds2072A version to?
Also, from where can I obtain a private key, on the link to the EEVblog site it says, to make sure that I add my private key.
The private key is already in the linked c code. Look for "private_key[] = "
DeleteIt should work with the A model.
Could you update Rigol with mingw and msys unix like console with python support installed?
ReplyDeleteTo update check out the key-generators at http://www.gotroot.ca/rigol/riglol/ if you're getting frustrated compiling the MIRACL library. Highly recommended.
ReplyDeleteCheers Nick!
DeleteI just got my Rigol DS2202A and upgraded the firmware to latest version 00.03.05. I tried the gotroot.ca site and none of the keys that get generated work at all. Anybody have any ideas?
Delete